
Last updated October 30, 2026
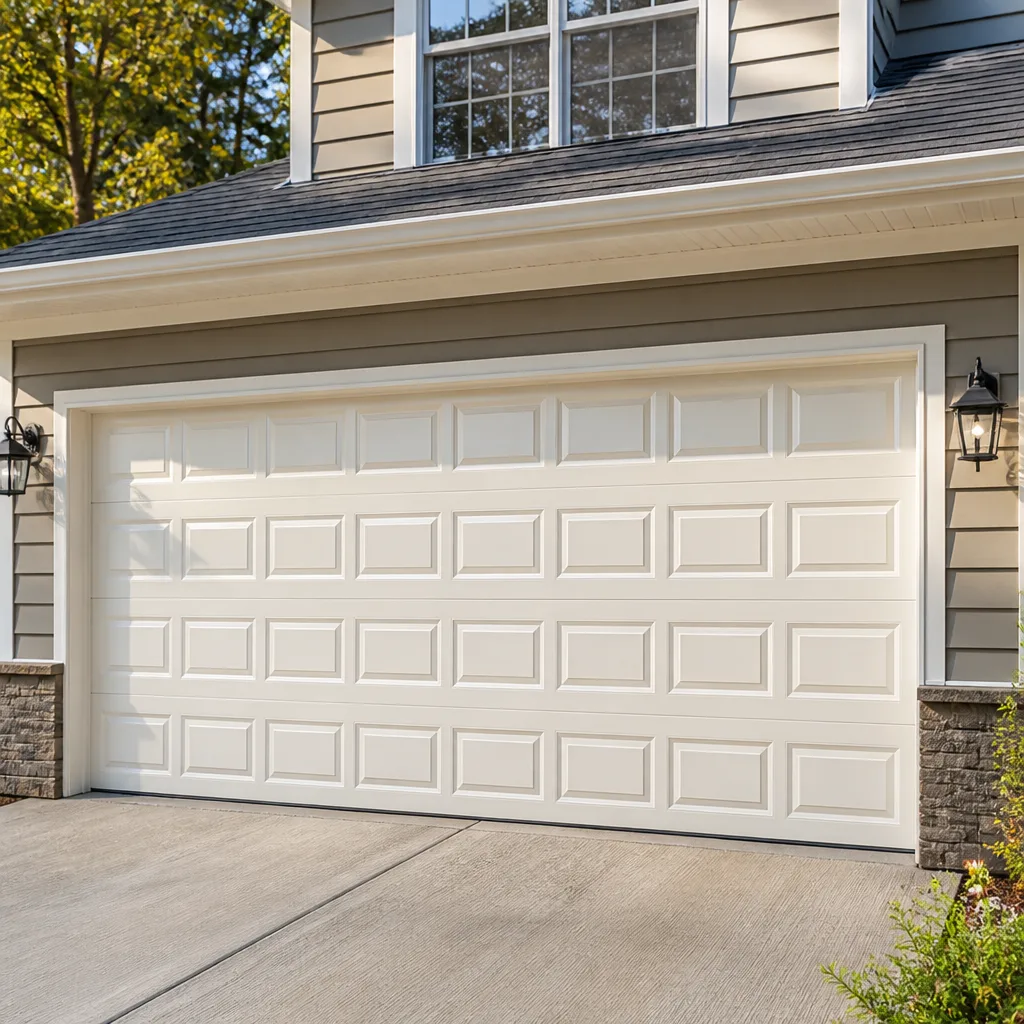 Raised-panel steel
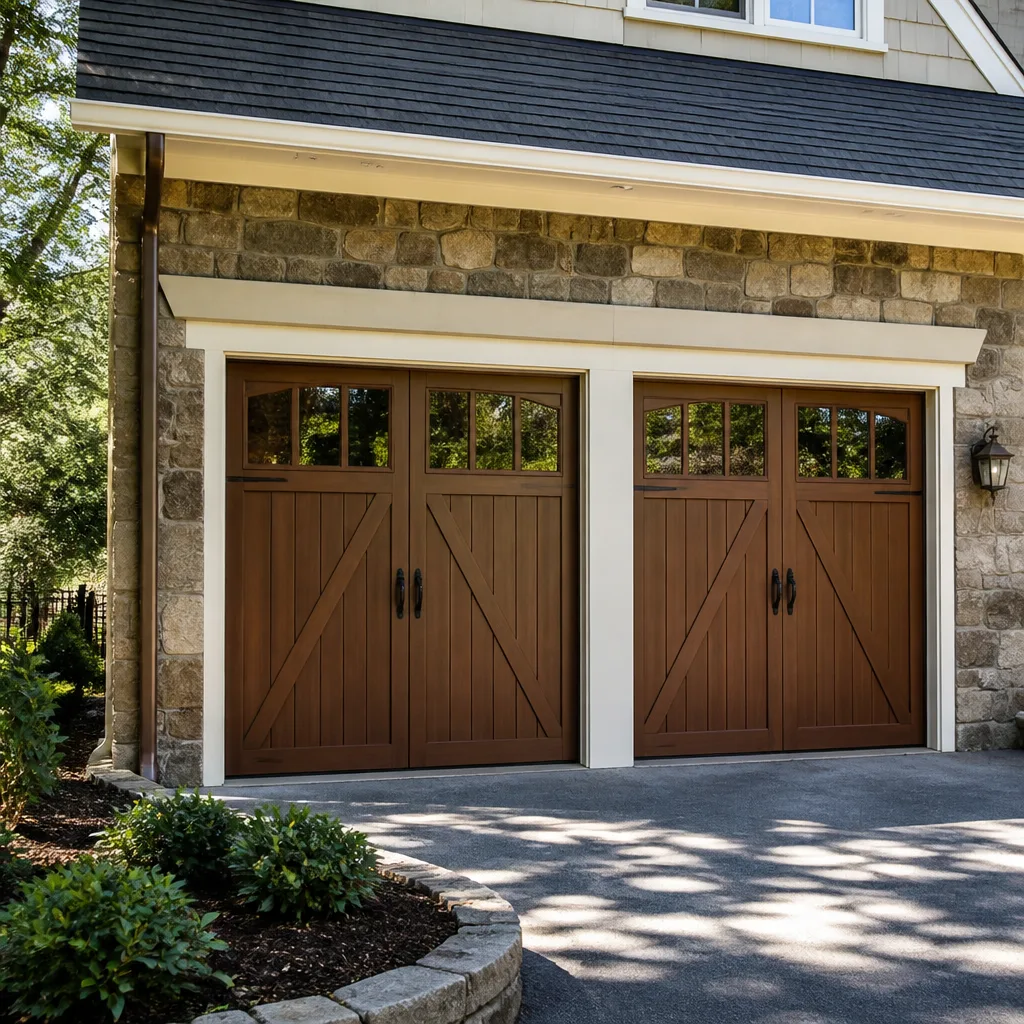 Carriage house
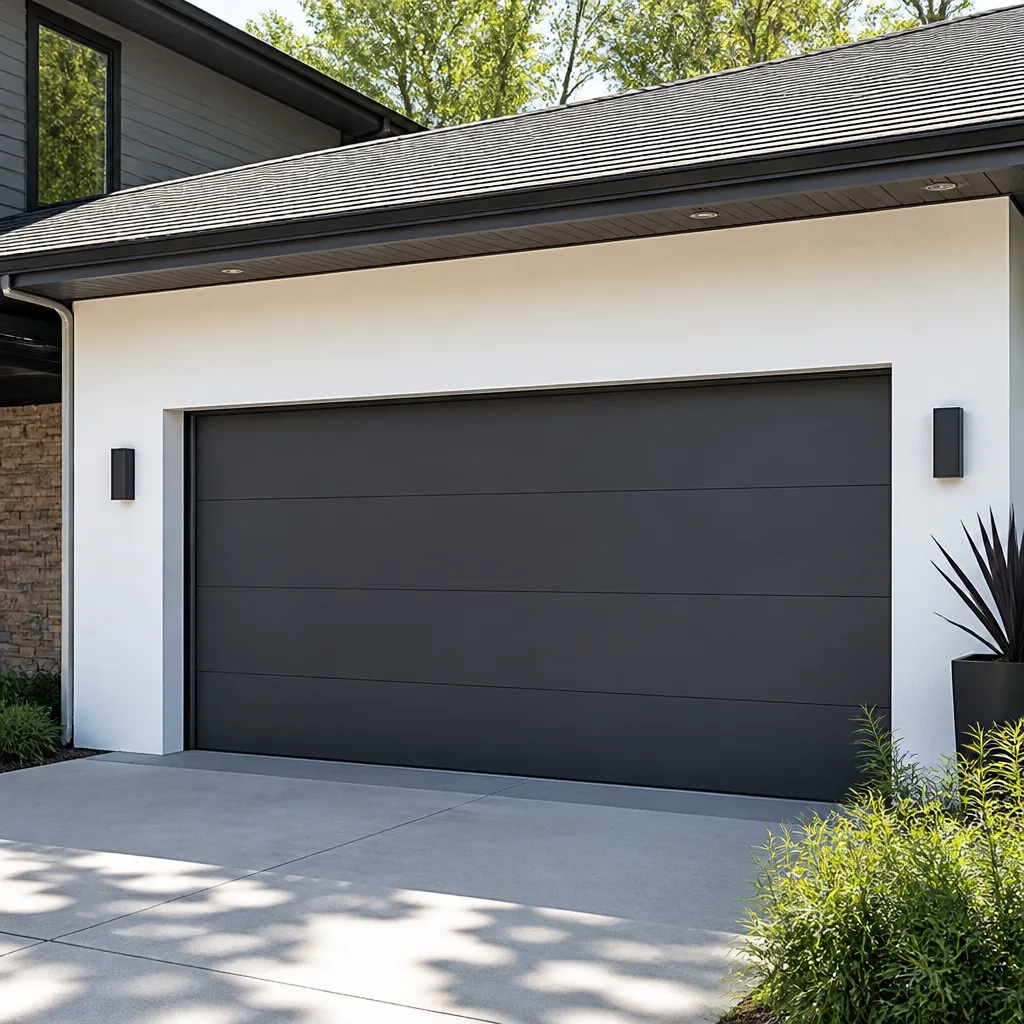 Modern flush
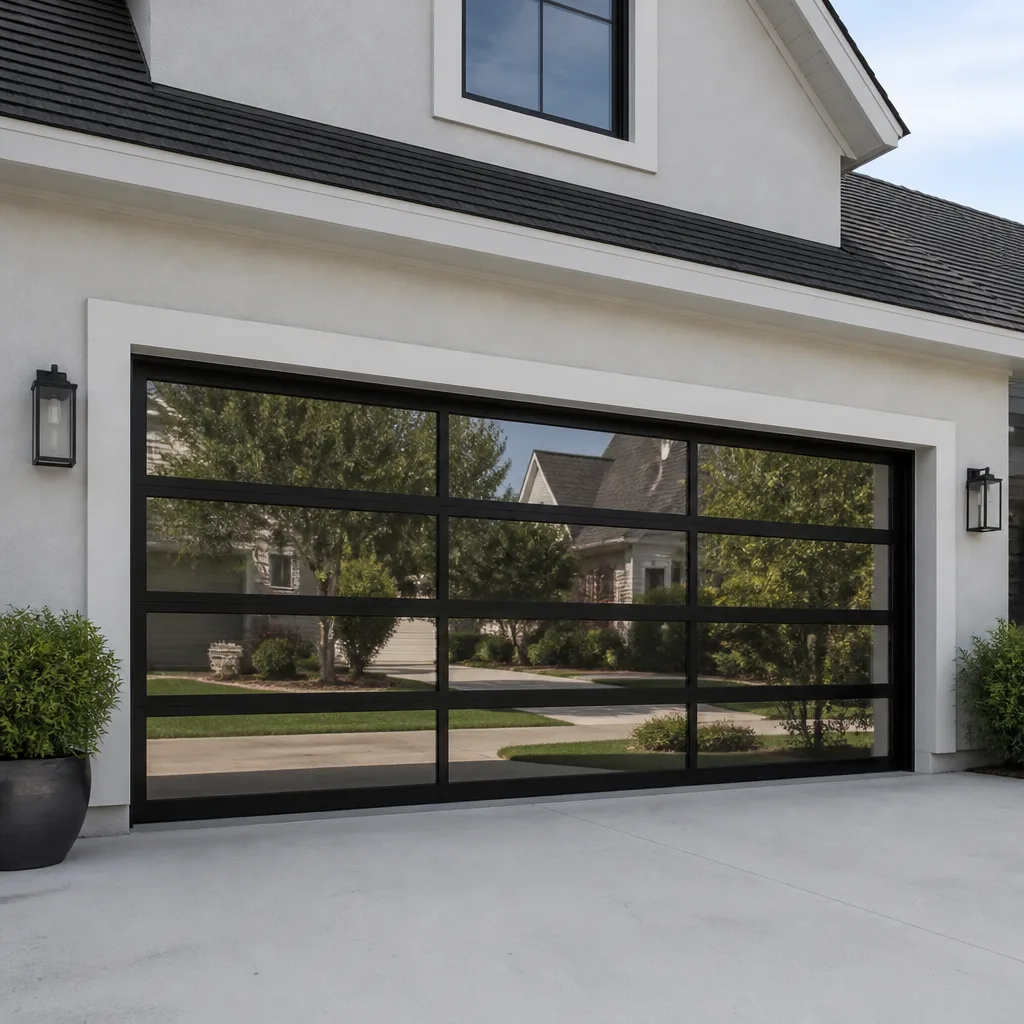 Full-view glass
 LiftMaster openers
 Chamberlain openers
Full 25-point door and opener safety check with every visit - springs, cables, rollers, tracks, and your LiftMaster or Chamberlain opener included
You get a price before we start. It does not change when the truck arrives.
Get your free estimateGarage Door Repair Troubleshooting: Common Problems and How to Fix Them
A garage door that reverses immediately after hitting the floor and a door that reverses halfway down are two completely different problems, but most homeowners Google the same phrase for both. They search “garage door won’t close,” watch a few videos, and end up replacing parts that were never broken. We see it every week in St. Petersburg, where salt air and afternoon storms put real stress on door hardware. This guide works the way a technician actually diagnoses: by what the door is doing, then by sound and movement pattern, until we reach the exact failed component. You’ll learn what you can safely address yourself, what you should never touch, and how to describe the problem so any professional understands it in the first sentence. Start with the symptom, not the part.
Styles & brands we work with
Quick Answer
Garage door repair troubleshooting starts with one question: what is the door doing that it shouldn’t? Whether the door won’t open, won’t close, reverses, makes grinding noise, or moves unevenly, each behavior points to a narrow list of possible causes. Most problems fall into three categories: broken or worn mechanical parts (springs, cables, rollers, hinges), opener issues (sensors, logic board, force settings, gears), and track or alignment problems. The fix ranges from a simple sensor realignment you can do in five minutes to a spring replacement that requires professional tools and serious caution. This guide walks you through the diagnostic path for each symptom, including what to check, what it means, and when to put the tools down and call a trained technician or reach out for our Garage Door Repair services.
Table of Contents
- The Symptom-First Diagnostic Tree
- Door Won’t Open: Four Causes, Four Fixes
- Door Won’t Close: Sensor, Limit, and Force Problems
- Door Reverses Before or After Hitting the Floor
- Noisy Door: What Different Sounds Actually Mean
- Door Moves Unevenly or Looks Crooked
- Opener Error Codes Decoded by Brand
- Spring vs. Cable vs. Track: Diagnosing from the Outside
- Common Mistakes to Avoid
- When to Call a Professional
- Frequently Asked Questions
- The Bottom Line
The Symptom-First Diagnostic Tree
Technicians don’t start by asking which brand you own. They start by asking what the door is doing. In St. Petersburg, we work on Wayne Dalton doors in Kenwood, Raynor doors in Old Northeast, Craftsman openers in Disston Heights, and LiftMaster systems all over the city. The brand matters for replacement parts, but the diagnostic path is identical. Here’s how a technician sorts the problem:
- Won’t open at all – the opener runs but the door doesn’t move, the opener doesn’t run, or the door moves a few inches and stops. Each points to a different failure: disconnected trolley, dead logic board, or broken spring.
- Won’t close all the way – the door reverses near the floor, stops halfway, or closes then immediately reopens. Nearly always a sensor, limit switch, or force setting issue.
- Makes a specific noise – grinding means opener gears. Squealing means rollers or hinges. Popping means a spring is failing. Banging means a track or panel issue.
- Moves unevenly – one side lifts faster, the door looks crooked in the opening, or it jerks side to side. Cables, tracks, or springs are usually responsible.
Once you identify which of these behaviors matches your door, move to the corresponding section below. You’ll narrow the cause quickly without guessing at parts.
Door Won’t Open: Four Causes, Four Fixes
The most common call we get in St. Petersburg is a garage door that won’t open at all. Within that category, there are four distinct failures, and they require four very different responses. Here’s how to tell which one you’re dealing with before you order a single part.
1. The opener motor runs but the door doesn’t move
This is almost always a disconnected trolley or carriage. The opener’s motor spins, but the mechanism that pulls the door has become detached. Look at the emergency release handle. This is the red cord hanging from the opener rail, usually near the middle of the rail. If the handle has been pulled, the trolley is disengaged from the chain or belt. The fix is usually simple: run the opener to the fully open position, then pull the release handle toward the door and re-engage the trolley. On most LiftMaster and Craftsman units, the trolley reconnects automatically on the next cycle. If it doesn’t re-engage, the trolley itself may be worn or the release spring may be broken.
2. The door moves a few inches then stops
This is the signature of a broken extension or torsion spring. The opener is designed to move a balanced door. When a spring breaks, the door suddenly weighs 120 to 350 pounds depending on the model, and the opener’s internal safety clutch prevents it from lifting the full weight. You may hear a loud snap or pop when the spring breaks. If the spring above the door on the torsion tube has a visible gap, that spring has failed. Do not operate the door. A broken spring leaves the remaining tension unbalanced, and continued operation can damage panels, cables, and the opener itself. Spring replacement is professional work, and most garage door repair in St. Petersburg for this issue is completed the same day.
3. The opener doesn’t respond at all
No hum, no click, no movement. Check the outlet first with a lamp or phone charger. If the outlet is live, look for a blown fuse or tripped GFCI. Some garage outlets in older St. Petersburg homes share a circuit with bathroom or exterior outlets that trip regularly. If power is confirmed and the opener still doesn’t respond, the logic board has likely failed. On most modern LiftMaster and Chamberlain units, the logic board is replaceable, but the labor and part cost often makes a new opener a better value. We service garage door opener repair in St. Petersburg for these exact situations and can tell you honestly whether a replacement board or a new opener makes more sense.
4. The door opens a foot then bangs shut
If the door lifts partially and then slams down, a cable has likely slipped off the drum. The spring still holds tension, but the cable that transfers that tension to the door has failed. You may see a loose, dangling cable along one side of the door. This is a dangerous condition because the door can fall unexpectedly. Keep the door closed, disconnect the opener, and leave it alone until a professional arrives. Cables in salt-air environments like St. Petersburg corrode faster than average, especially if the garage is not climate controlled.
Door Won’t Close: Sensor, Limit, and Force Problems
When a garage door won’t close, homeowners often blame the opener. In our experience, the opener is usually doing exactly what it was told to do. It’s receiving a signal that says “something is in the way” or “the limit hasn’t been reached.” Here’s the diagnostic order we follow:
Step 1: Check the safety sensors
The two photo-eye sensors sit at the bottom of the door opening, one on each side, about six inches off the floor. They must face each other directly with nothing blocking the beam between them. If one sensor’s indicator light is blinking or off, the opener thinks something is blocking the closing path. Use a broom handle to clear spider webs, dirt, or debris from the lens. A St. Petersburg garage collects sand and salt film faster than most, and these lenses cloud over within months. If clearing the lens doesn’t restore the solid indicator light, check the sensor wiring for corrosion or a loose connection.
Step 2: Check the close-limit setting
If the sensors are clean and aligned but the door stops six inches short or reverses right at the floor, the close-limit switch may be set incorrectly. The limit tells the opener where the floor is. Over time, especially on older Raynor and Craftsman openers, the limit screw drifts. Adjusting the limit is a simple procedure on most units, usually a dial or a screw on the opener body labeled “down limit” or “close force.” Turn it a quarter turn in the direction that sends the door lower, then test. Make small adjustments and test after each one.
Step 3: Check the force setting
The force setting controls how much resistance the opener will push through before reversing. If the door hits the floor and immediately reverses, the force setting may be too sensitive. On Genie units, this is usually a small dial on the motor housing. On newer LiftMaster models, force is controlled by the logic board and adjusted through the wall console. Raise the force slightly and retest. But if the door is genuinely heavy because of a worn spring, raising the force to compensate is the wrong fix. It masks a spring problem and eventually burns out the opener.
For any of these adjustments, St. Petersburg Garage Door Repair home can walk you through a phone diagnosis before you touch anything. Sometimes a five-minute call saves a service visit. Other times, the call confirms you need a technician, and we schedule it for the same day.
Door Reverses Before or After Hitting the Floor
Two different reversal behaviors share the same Google search. Here’s how to tell which one you have and what each means.
Reverses immediately after touching the floor
The door goes all the way down, touches the concrete, and bounces back up to the full open position. This is the opener’s safety reverse system misreading the floor contact as an obstruction. The usual culprits: the close force is set too high, the close limit is set too low, or the door itself has a minor issue like a warped panel that increases resistance. In Florida humidity, wooden door panels absorb moisture and swell slightly, which is enough to trigger a false reversal on a sensitive opener. Start by adjusting the close-limit setting up slightly, then reduce the close force one notch. Test after each adjustment.
Reverses halfway down
A door that reverses at the midpoint, or roughly anywhere between the header and the floor, is nearly always a sensor interruption. The photo-eye beam is being broken mid-travel. In a St. Petersburg garage, sunlight hitting one sensor at the wrong angle is a common cause, especially in the late afternoon. Garage doors that face west collect direct sun through the opening, and the sensor on the sun side can be overwhelmed. Shielding the sensor with a small cardboard visor or a section of PVC pipe cut lengthwise usually solves it. If sunlight isn’t the issue, look for loose sensor brackets, vibration from an unbalanced door throwing the beam out of alignment mid-travel, or a damaged wire that loses connection when the door vibrates. For help vetting the right pro for the job, read How to Hire a Garage Door Contractor in St. Petersburg: A Step-by-Step Guide.
Noisy Door: What Different Sounds Actually Mean
A garage door that sounds different than it did last month is telling you something. Here’s how we separate the sounds and what each one points to in St. Petersburg’s climate, where salt air accelerates certain types of wear.
- Grinding or chattering from the opener motor – This is the opener’s plastic gear wearing down. Genie and older Craftsman openers use a sacrificial plastic drive gear that strips over time. The opener runs, but the noise is harsh and mechanical. This is a repairable component, and the gear replacement is typically done in under an hour.
- Squealing or screeching from the door itself – Rollers and hinges. Metal rollers on metal tracks are noisy by design. Nylon rollers quiet the door significantly. If the squeal comes from a single hinge, that hinge may be dry or its rivet may be worn. Lubricate hinges twice a year in Florida’s heat, and expect roller replacement every 5 to 7 years on a door that cycles twice a day.
- Popping or snapping – Spring failure. A loud snap from the area above the door is a torsion spring breaking. The door may still open because the second spring on a dual-spring system is holding, but the remaining spring is now overworked. Call immediately. A single-spring door may not open at all.
- Banging or thumping during travel – The door is hitting something or a panel is flexing. Look for loose track bolts, a bent track section, or a section of the door that catches at a specific height. In older St. Petersburg homes, shifting concrete slab foundations can move the track slightly out of alignment, creating a new contact point.
Noise diagnosis is one of the areas where brand knowledge matters. A Wayne Dalton door with a TorqueMaster system sounds different when the spring fails than a LiftMaster door with standard torsion springs. If the noise doesn’t match anything above, a short video sent to a technician can usually settle it without a service call.
Door Moves Unevenly or Looks Crooked
A door that twists as it moves, rises faster on one side, or hangs visibly crooked in the closed position has a structural issue, not an opener issue. Three systems keep a garage door level: cables, tracks, and springs.
Cables
Each side of the door has a cable that runs from the bottom bracket to the drum at the top. If one cable is frayed, stretched, or slipping, that side of the door loses support and the door rises unevenly. Frayed cables in St. Petersburg are common on doors that face the bay, where salt particles accumulate on exposed steel cable. You can inspect a cable visually without touching it. Look for broken strands, rust patches, or a cable that hangs loose along the track. If you see any of these, the cable is done. Replacing a cable requires removing spring tension, which is not a DIY job.
Tracks
The vertical and horizontal tracks guide the rollers. If one track has shifted, been struck by a car, or collected enough corrosion to bind the roller, the door fights against it and moves unevenly. Look for a visible gap between the track and the door frame, or a section of track that flares wider than the rest. Minor track adjustments are sometimes possible with hand tools, but a kinked or bent track usually means replacement. We recommend having this assessed in person because a track that’s out of tolerance on one side will destroy a new set of rollers within months. This is a common part of garage door repair in St. Petersburg on mid-century homes where the original tracks are older than the homeowners.
Springs
On a two-spring door, when one spring breaks, the other still provides some lift. The door rises, but one side lags. You’ll notice the door looks slightly lower on one side in the open position. In the closed position, it may look perfectly level. That’s the tell: the imbalance shows only during travel. Spring replacement is professional work. Do not attempt to remove a torsion spring with improvised tools.
Opener Error Codes Decoded by Brand
Modern openers communicate through blinking lights on the motor unit. The pattern of blinks is a diagnostic code that points directly to the fault. Here’s how to read the codes on the most common openers we work on in the St. Petersburg area.
LiftMaster and Chamberlain
LiftMaster and Chamberlain openers use the motor unit’s learn button or diagnostic LED that blinks in sets of numbers. The blink pattern is always up-down pairs: the first number is the “up” blink count, the second is the “down” blink count. Here are the most common codes we decode in the field:
- 1 up, 1 down – The opener is functioning normally. No fault.
- 2 up, 2 down – Door won’t move more than an inch. The safety sensors are misaligned or blocked. Clean and realign the sensor eyes.
- 4 up, 6 down – Door won’t close. The sensor beam is broken or the wires are shorted. Check for damaged wire insulation, especially where wires exit the wall and run under the track.
- 1 up, 4 down – Door reverses for no apparent reason. The force profile is out of adjustment. Often means the door is binding. Lubricate rollers and hinges, then retrain the force profile.
- 3 up, 2 down – The door is unbalanced. This almost always means a spring issue. The opener has detected that the door is heavier than its calibrated profile.
Genie
Genie openers use a round or long LED that blinks in long and short pulses. Two long blinks followed by two short blinks means the door’s travel limits are not set or were erased by a power surge. In St. Petersburg’s electrical storm season, power surges are a common cause of erased limits. Reprogramming the limits on a Genie is done from the wall console, and the procedure is printed on the inside of the console cover.
Craftsman
Craftsman openers made in the last 20 years use the same diagnostic LED protocol as LiftMaster and Chamberlain because the openers share a common design lineage. The codes above generally apply. Older Craftsman units from the 1990s and early 2000s use a single blinking red LED, and the blink count corresponds to a fault number printed in the owner’s manual. If the manual is gone, the blink pattern is still decodable by a technician.
Here’s the key: when your opener is blinking a code, write it down before you reset anything. Unplugging the unit erases stored diagnostic history on some models and makes a technician’s job harder. If you can’t decode it, garage door opener repair in St. Petersburg handles these diagnostics in person, and most opener problems are resolved the same day.
Spring vs. Cable vs. Track: Diagnosing from the Outside
You don’t need to go under the door or remove any panels to determine which of these three components has failed. You can diagnose all of them from outside the door, in daylight, without touching anything under tension. Here’s how we do it:
Spring failure: look at the spring, not the door
Stand outside the closed door and look at the torsion spring above the opening. On a standard torsion system, the spring is a long coil mounted on a horizontal bar. If the spring has a visible gap between coils, that spring is broken. If you have two springs (common on 16-foot doors), compare them. If one has a gap and the other doesn’t, you found your break. For extension spring systems, look along the horizontal tracks. A broken extension spring will be in two pieces, or one side will have a spring and the other side will not.
Cable failure: look at the drums
The drums are the spools at each end of the torsion bar above the door. The cable winds onto the drum as the door opens. If one cable has slipped or is missing, the drum on that side will have a loose or missing cable wrap. Compare the two drums. If they look different, the side with less cable is the problem. Also check for a cable hanging loose along the vertical track. That’s a cable that has completely compromised the door, and the door should not be operated until a technician fixes it.
Track problem: look at the gap
Stand back from the closed door and look at the gap between the door and the vertical track on both sides. The gap should be identical. If one side is wider, the track has shifted. Then, look at the track’s mounting brackets. On most St. Petersburg garage doors, the track attaches to the wall with lag screws. If a bracket is bent, its screw has pulled out of the block wall, or the track shows a fresh scratch or impact mark, that’s your problem. The track doesn’t need to be perfectly straight to work, but it does need to be parallel to the door. A 1/4-inch variation is enough to cause uneven travel on a wide door.
Diagnosing from the outside keeps you safe. The components under tension, springs and cables, never need to be touched during diagnosis. For more guides & resources on keeping your door running smoothly, explore our blog. If your outside diagnosis points to a spring or cable, the next call should be to a professional. These repairs are routine for us, but dangerous for someone without the right tools and training.
Common Mistakes to Avoid
Here are the five misdiagnoses we fix most often after homeowners attempt DIY repairs. Each one adds time and cost to the eventual repair, and some create safety risks.
- Replacing the opener when the spring is broken. The opener struggles, so the homeowner buys a new one. The old opener was fine. The spring was dead. A new opener with a broken spring will fail the same way, just with a cleaner motor. The $200 to $400 spring replacement becomes a $600 to $900 combined job. Diagnose the spring first.
- Adjusting the sensor when the force setting is wrong. The door reverses near the floor, so the homeowner spends an hour realigning and cleaning sensors. The sensors were fine. The force setting was triggering a false reverse. One dial adjustment fixes it. The sensor cleaning was useful but didn’t solve the problem.
- Lubricating a broken roller. A noisy roller gets sprayed with WD-40 and quiets for a week. Then it gets louder. The roller bearing was dry and failing. Lubrication masked the sound temporarily, but the roller is still failing and will eventually seize, which can derail the door. Replace worn rollers; don’t lubricate them back into service.
- Pulling the emergency release before checking the spring. The door won’t open. The homeowner pulls the red cord, disconnects the door from the opener, and tries to lift it manually. If the spring is broken, that door now weighs over 150 pounds and can slam down. The emergency release exists for power outages, not for spring failures.
- Replacing a cable without releasing spring tension. A frayed cable tempts a homeowner to replace it themselves. But the cable is under full spring tension. Unbolting it without releasing that tension allows the spring to unwind violently. This is the single most dangerous action a homeowner can take on a garage door, and it’s responsible for serious hand and arm injuries every year. We never recommend touching cables under tension.
When to Call a Professional
Some garage door problems are safe to address with basic tools and patience: cleaning sensor lenses, adjusting force dials, reprogramming limits, reconnecting a trolley. But certain signs mean the repair has moved beyond the safe DIY zone. If the spring has a visible gap, call a professional; the tension in a torsion spring is enough to cause severe injury. If a cable is frayed or hanging loose, do not operate the door at all. If the door is crooked in the tracks, if the opener is blinking a code you cannot decode, or if you hear a snap followed by the door feeling suddenly heavy, put the tools down and make the call. The same advice applies if your St. Petersburg home has a door original to a 1950s or 1960s build; those older systems often lack the safety components modern doors have, and any repair work should include bringing the system up to current standards. St. Petersburg Garage Door Repair offers free estimates in St. Petersburg. Call (855) 473-1420 and we’ll diagnose the problem over the phone first.
Frequently Asked Questions
Garage door repair in St. Petersburg typically runs $120 to $350 for component-level fixes like rollers, hinges, sensors, and force adjustments. Spring replacement runs $200 to $400 depending on whether you have one torsion spring or two. Opener gear replacement usually falls between $150 and $250. A full opener replacement typically runs $350 to $650 installed, depending on the model. Every job is quoted before work begins, and we never change the price after we arrive unless you approve additional work in writing. Call (855) 473-1420 for an exact quote.
In most cases, yes. A broken spring, snapped cable, failed opener gear, or misaligned sensor is typically repaired in a single visit. If you call before noon, we can usually have a technician to your St. Petersburg home the same day. More complex jobs, like a full replacement door or an opener that requires ordering a non-stock part, may need a follow-up visit, but we’ll tell you that before we schedule anything.
No. The price we quote is the price you pay, unless you choose to add work that was not part of the original quote. If we find a second issue during the repair, we show it to you, explain it, and get your approval before touching it. You’ll never see a higher invoice that wasn’t explained and approved first.
Our trucks stock the most common replacement parts for LiftMaster, Chamberlain, Genie, Clopay, Amarr, Wayne Dalton, Craftsman, and Raynor systems: torsion and extension springs, cables, rollers, hinges, sensors, opener gears, remotes, and keypads. If your part is on the truck, we fix it the same visit. If your door uses a proprietary component that isn’t common, we’ll order it and schedule the return visit at no additional trip charge.
We work on eight major brands: LiftMaster, Chamberlain, Genie, Clopay, Amarr, Wayne Dalton, Craftsman, and Raynor. That covers the manufacturers behind the large majority of residential garage doors and openers in homes across St. Petersburg. Our technicians diagnose by symptom and mechanics, not by brand preference, so you’ll never hear “we don’t service that brand” from us.
You can, but we don’t recommend it. A garage door installation involves precisely tensioned springs, balanced panels, routed cables, and safety systems that must be calibrated correctly. A misstep during installation can injure you during the process or create a door that fails dangerously months later. We install doors professionally and stand behind the work. If you’re considering a new door, garage door installation in St. Petersburg starts with a free measurement and a written quote before any work begins.
The Bottom Line
Garage door troubleshooting isn’t about memorizing every possible failure. It’s about listening to what the door is telling you. A door that won’t close, a door that reverses, a door that grinds, a door that twists: each symptom narrows the problem to a short list of causes, and each cause has a straightforward fix. The safety line is clear, too. Springs and cables under tension are not DIY components. Everything else, from sensors to force dials to limit settings, is often a five-minute adjustment. Start with the symptom, work through the diagnostic path, and know when to call someone who does this every day. For any garage door problem in St. Petersburg, from a broken spring to a full installation, one call covers it: (855) 473-1420.
Written by the team at St. Petersburg Garage Door Repair, serving St. Petersburg since 2011.
See the difference
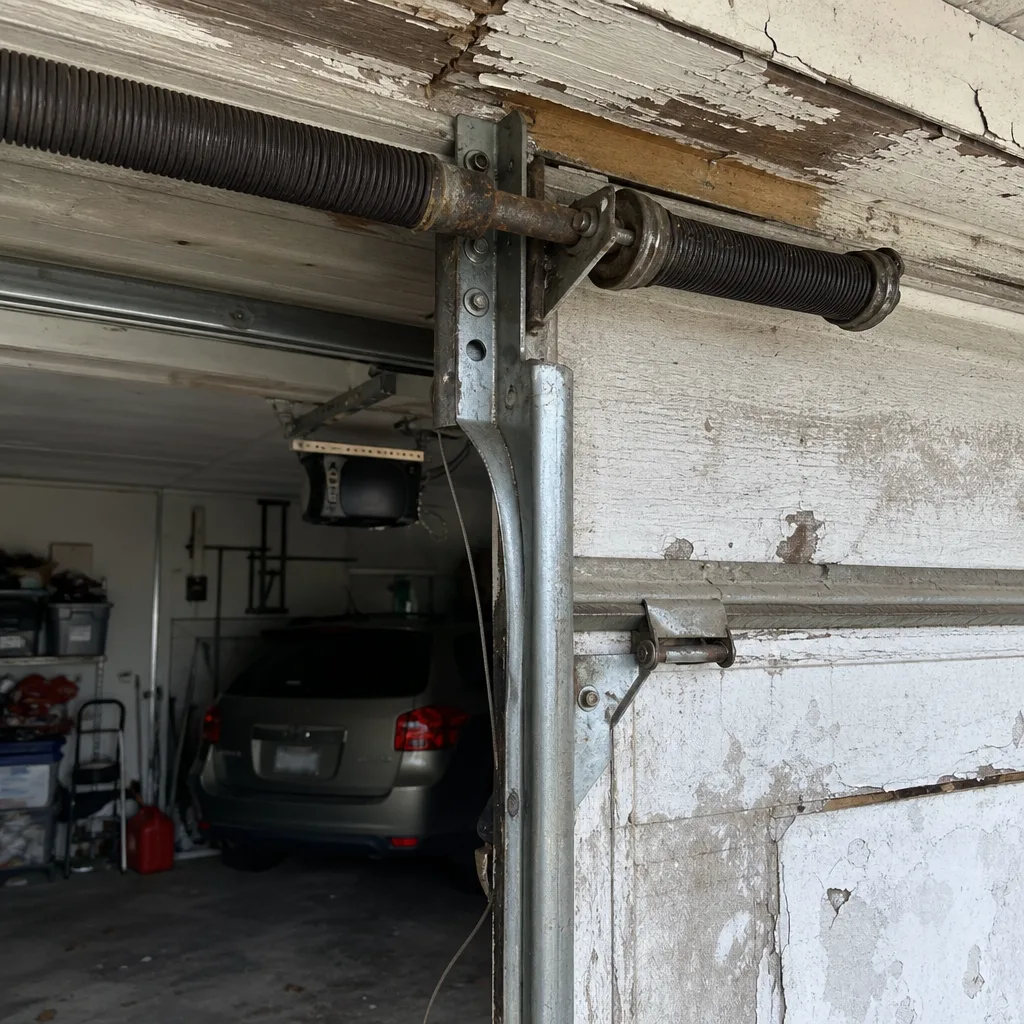 Before
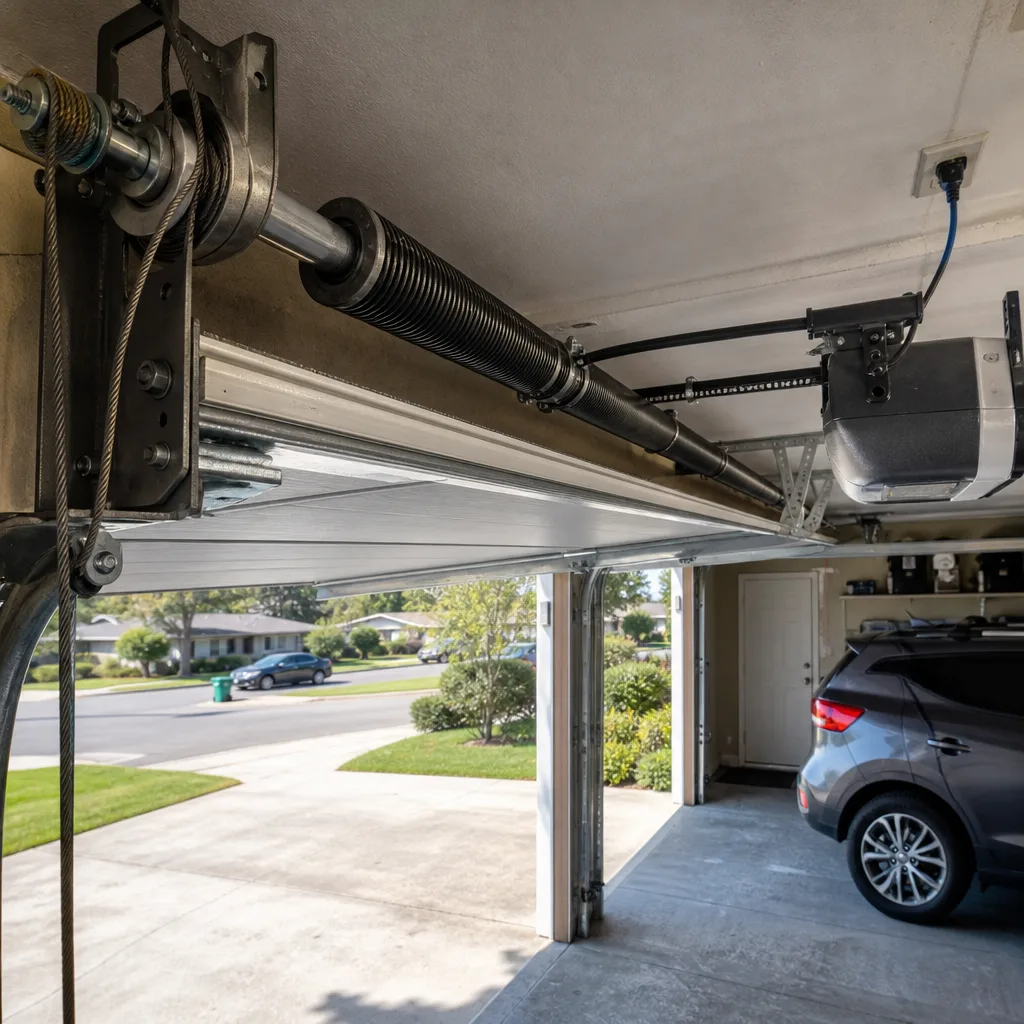 After
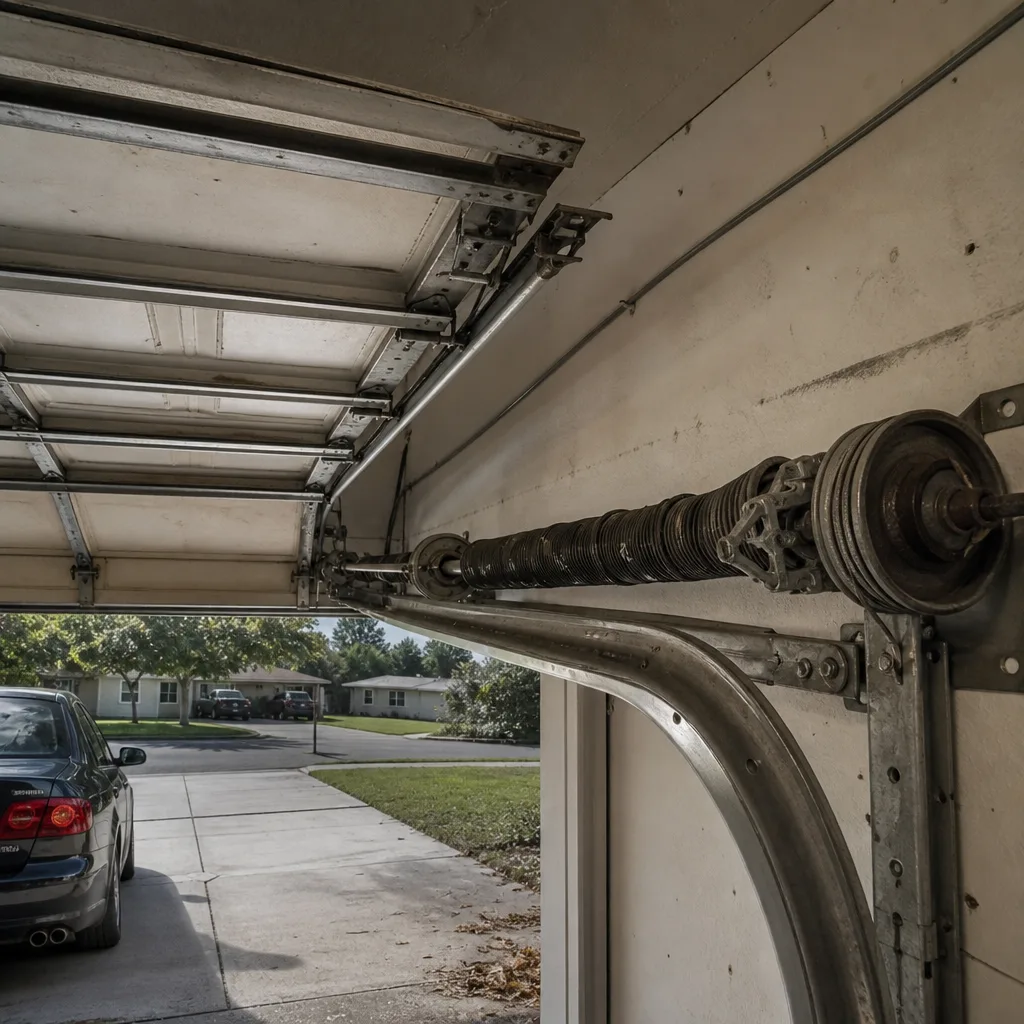 Before
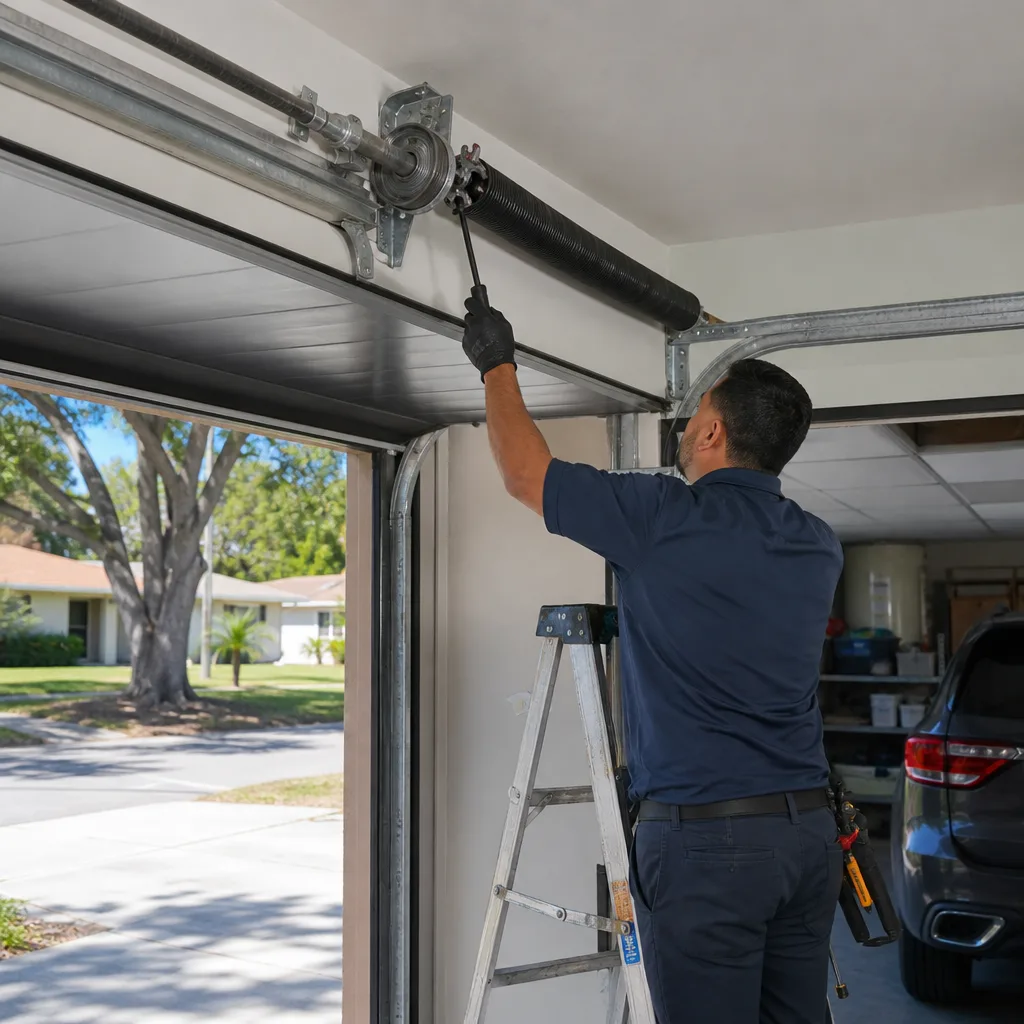 After
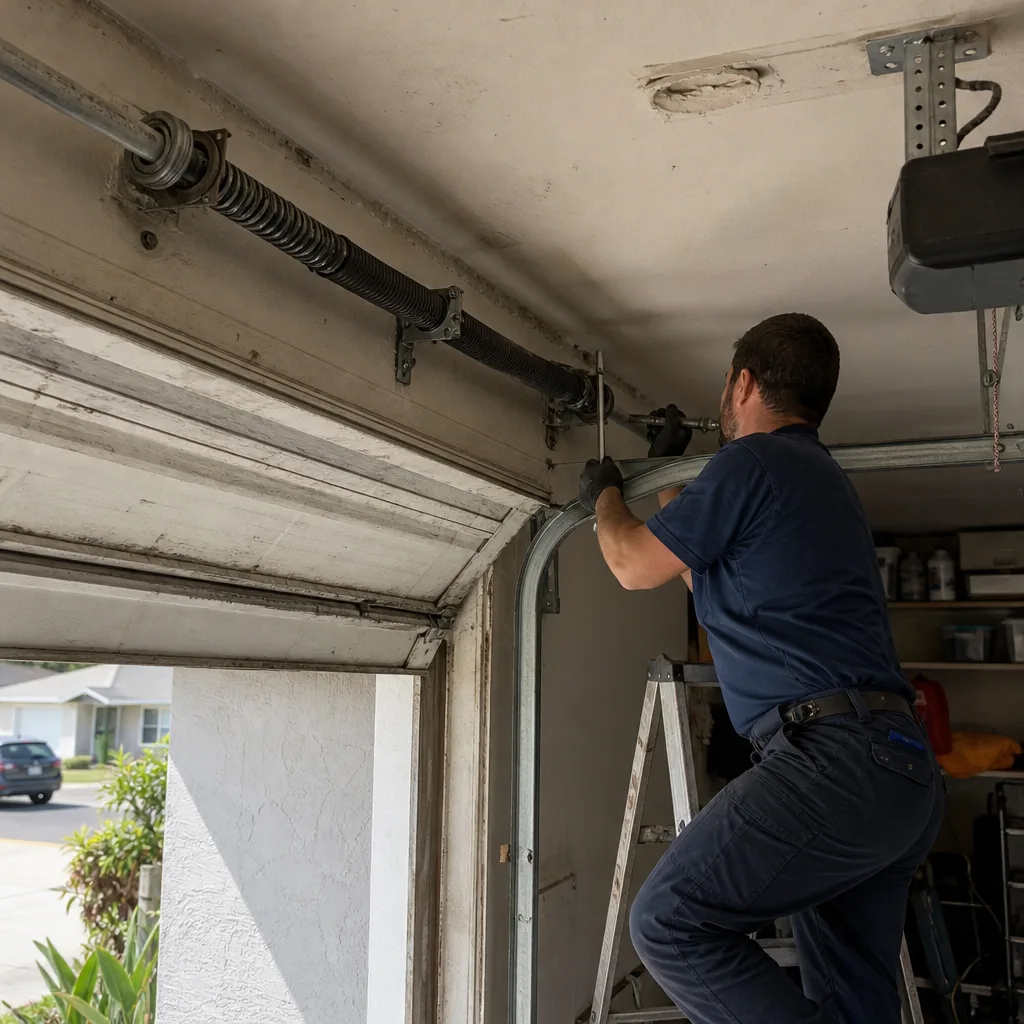 Before
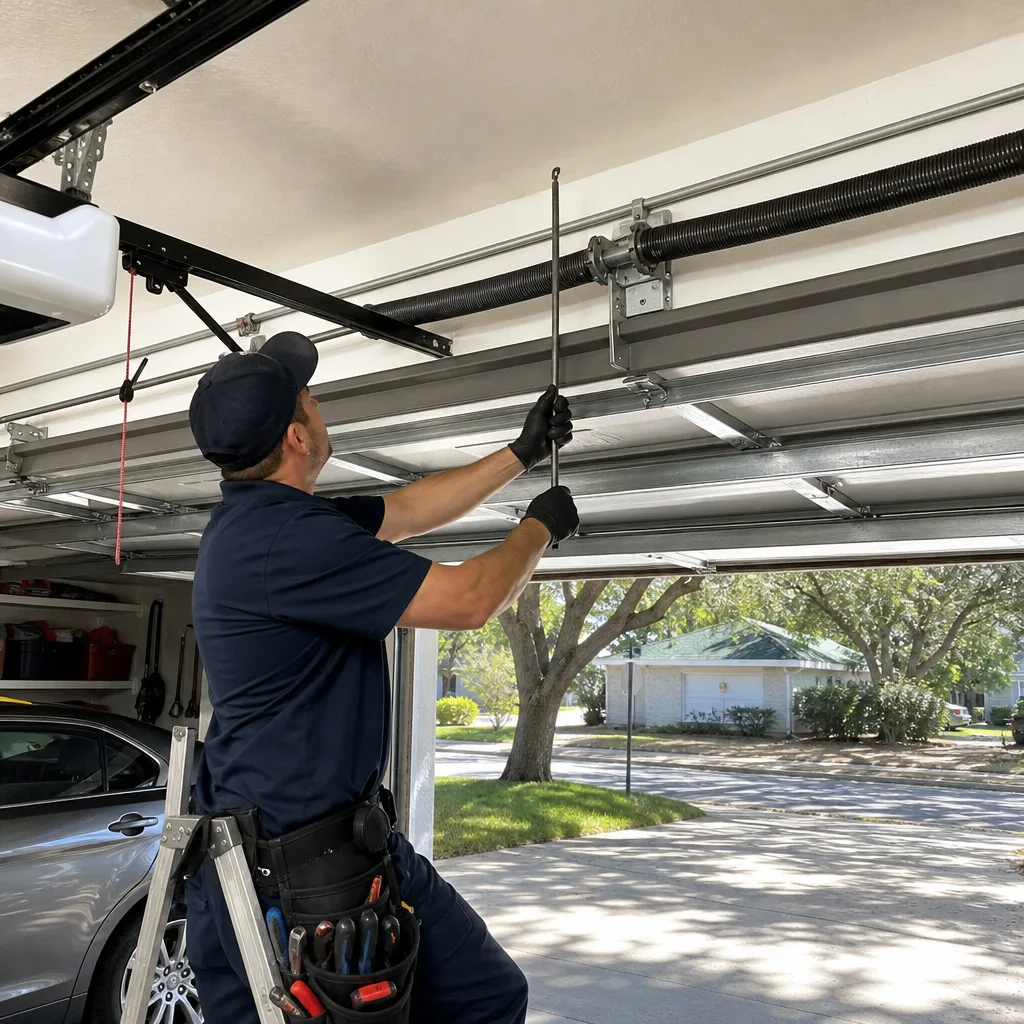 After