
Last updated October 30, 2026
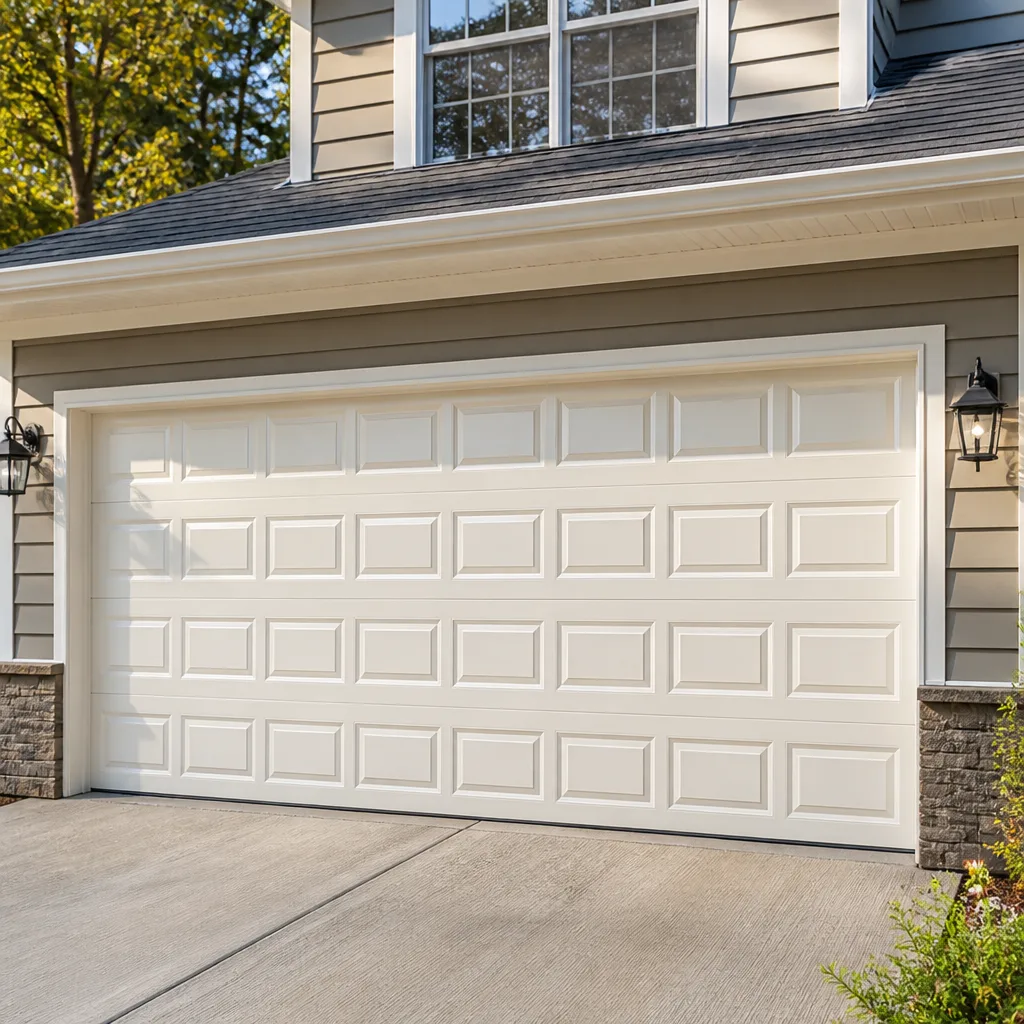 Raised-panel steel
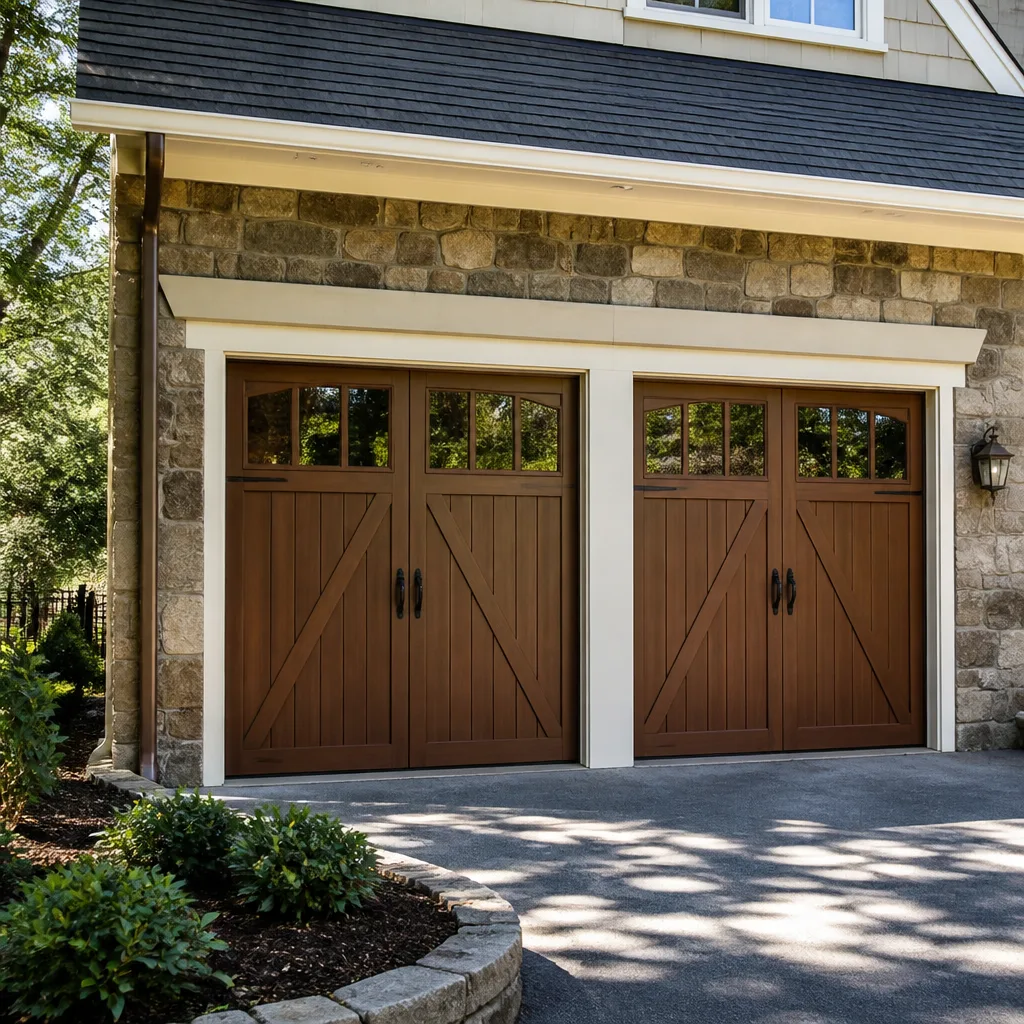 Carriage house
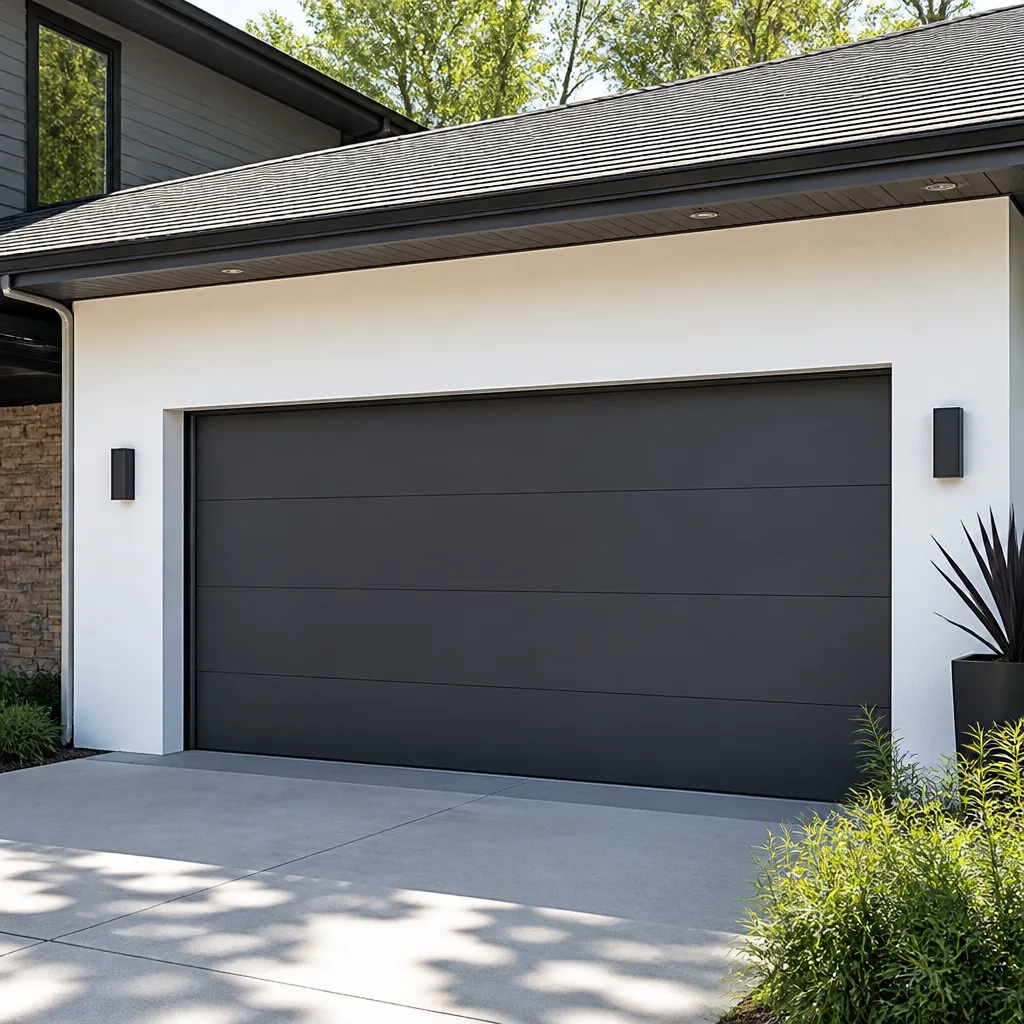 Modern flush
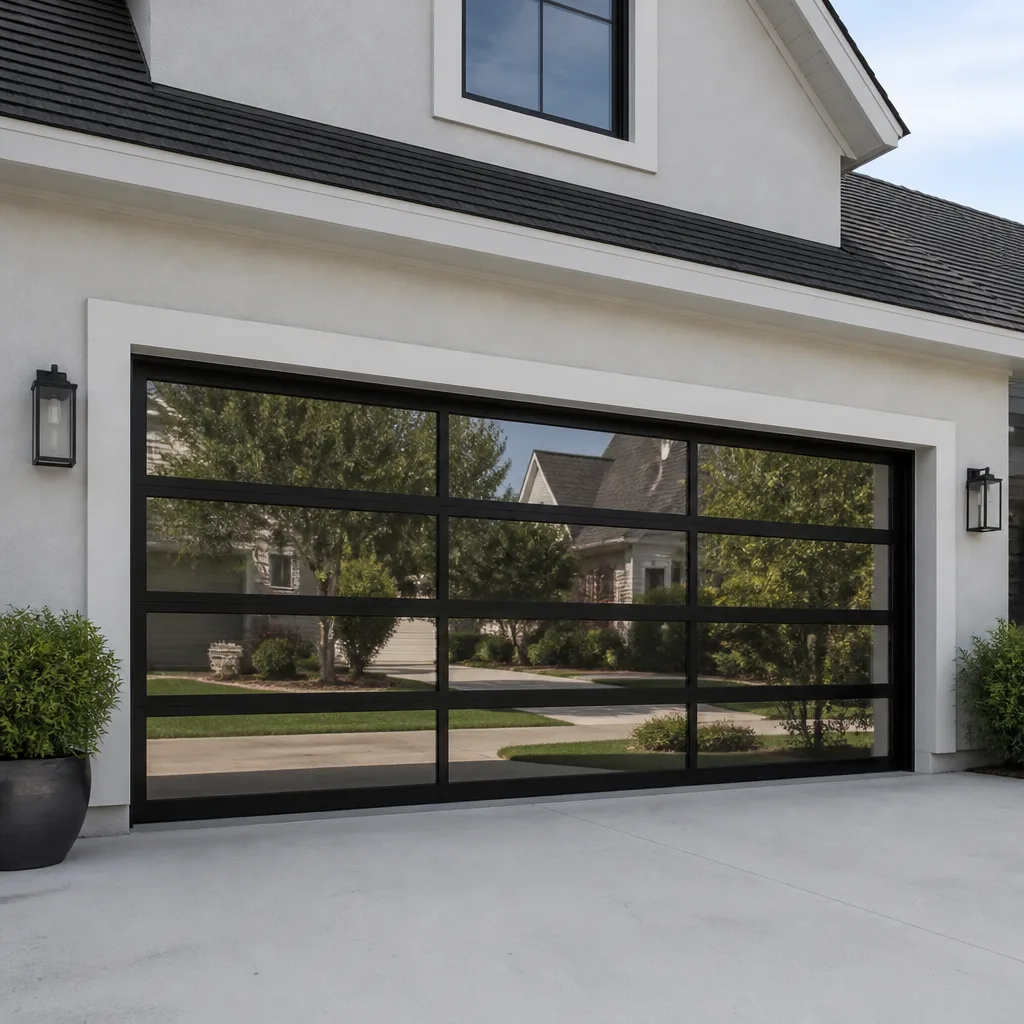 Full-view glass
 LiftMaster openers
 Chamberlain openers
Full 25-point door and opener safety check with every visit - springs, cables, rollers, tracks, and your LiftMaster or Chamberlain opener included
You get a price before we start. It does not change when the truck arrives.
Get your free estimateGarage Door Repair Maintenance Checklist for St. Petersburg Homeowners
The number-one call we get on Monday mornings in St. Petersburg is a spring that snapped over the weekend. A failure that shows visible rust and tension loss weeks before it goes. A checklist that tells you to “lubricate moving parts” won’t catch that. Knowing exactly what to look at will.
This guide is built around the specific failure patterns we see working on Garage Door Repair services across St. Petersburg, from Shore Acres to Disston Heights: salt-corroded springs, UV-cracked weatherseal, and humidity-swollen bottom brackets. Run it quarterly and you’ll catch roughly 80% of repairs before they become emergency calls. Here’s what actually fails, what to check, and what’s safe to handle yourself versus what needs a technician.
Quick Answer
A St. Petersburg garage door maintenance routine should include: inspecting springs, cables, and rollers for corrosion every three months; lubricating moving parts with a silicone-based spray; testing opener auto-reverse and photo-eye safety functions monthly; and replacing cracked weatherseal before summer humidity peaks. Most major failures, especially spring breaks and cable fraying, are preventable when caught early.
Styles & brands we work with
Table of Contents
- Checking Garage Door Springs: What Corrosion Tells You
- Cable Inspection: The Component That Fails Quietly
- Rollers and Hinges: Replacing Worn Hardware Before It Destroys Your Tracks
- Track Alignment: Why St. Petersburg Humidity Warps More Than Just Wood
- The Right Way to Lubricate in Florida Heat
- Opener Maintenance: Auto-Reverse, Photo-Eyes, and Battery Backup
- Weatherseal and Bottom Brackets: UV and Salt Damage in Pinellas County
- Common Mistakes to Avoid
- When to Call a Professional
- Frequently Asked Questions
Checking Garage Door Springs: What Corrosion Tells You
Springs are the single most common emergency repair we perform across Garage Door Repair in St. Petersburg. In coastal neighborhoods like Snell Isle and Old Northeast, salt-laden air accelerates spring corrosion roughly twice as fast as inland homes. A spring that looks “a little rusty” may be months away from snapping.
Here’s the inspection sequence we recommend for torsion springs (the ones mounted horizontally above your closed door):
- Look at the spring surface. Light surface oxidation is normal in Florida humidity. But flaking rust, pitting, or visible scale means the spring’s structural integrity is compromised. That’s a replace-soon situation, not a wait-and-see.
- Check for gaps in the coil. A torsion spring under tension should show uniform spacing between coils. If you see a wider gap or a misaligned coil, the spring has already started to fail internally.
- Listen during operation. Open the door halfway and stop. If you hear creaking, grinding, or a “sticky” sound as the spring winds and unwinds, friction is wearing the metal from the inside.
- Check the spring’s balance by feel. Disconnect the opener (pull the red release handle) and lift the door manually. A properly balanced door stays put at waist height. If it drops, the spring has lost tension.
Extension springs (the long springs running along the horizontal tracks on either side) show different warning signs. Look for stretched coils at one end, where the spring connects to the track bracket. Stretching means the spring has lost its factory tension and is working harder than designed. Safety cables running through the center of extension springs should be intact and taut; if they’re missing or dangling, a spring break becomes a projectile risk. Never attempt to adjust, remove, or replace any garage door spring yourself. The tension stored in these components can cause serious injury or death even when the door is closed. Spring replacement requires specialized winding bars and specific training.
Cable Inspection: The Component That Fails Quietly
Cables don’t snap with a bang the way springs do. They fray. Strand by strand. And because they run along the sides of the door where nobody looks, homeowners often miss the warning signs until the door hangs crooked or refuses to open at all.
In Pinellas County, we see two cable failure patterns more than anything else. The first is rust-related fraying near the bottom bracket, where salt air and driveway splash concentrate. The second is wear at the cable drum up top, caused by the cable winding slightly off-track from a misaligned drum.
What to check every three months:
- Run your eyes along the full cable length with the door closed. Look for fuzzy spots, which indicate broken individual strands.
- Check the bottom bracket attachment point. This is where cables connect to the door. In St. Petersburg, these brackets collect condensation overnight and corrode faster than any other cable component.
- Look for cable slack. With the door closed, both cables should be taut. If one side has visible slack, the door is out of balance and putting uneven load on the good cable.
- Inspect cable drums. The grooves on the drum should be clean and the cable should sit in the groove, not overlapping itself.
Any visible fraying means the cable has already lost a significant portion of its load capacity. Don’t wait for it to snap. A broken cable under tension can whip and cause injury, and a door that drops on one side can pull the track out of alignment. This is a same-day service call for us, not a weekend DIY project.
Rollers and Hinges: Replacing Worn Hardware Before It Destroys Your Tracks
Rollers wear out predictably: metal rollers with ball bearings last 10 to 15 years under normal use, while plastic rollers last 5 to 7. But in St. Petersburg, the bigger variable is the environment. Humidity cycles cause metal rollers to develop micro-rust on the bearing surfaces, which accelerates wear significantly. We’ve replaced rollers in 4-year-old doors that looked 10 years old because they faced afternoon sun and evening condensation, common in neighborhoods like Kenwood and Historic Roser Park.
Here’s the inspection sequence:
- Operate the door and listen. Metal-on-metal grinding means the roller bearings are shot. A smooth door should be quiet, not squealing.
- Look at each roller as it passes the horizontal-to-vertical track curve. Wobbling, visible flat spots, or a roller that’s riding the track edge means replacement is due.
- Check hinge condition. Hinges connect door sections and carry the rollers. Look for cracked metal, loose rivets, or sagging. A single failed hinge can twist a door section and destroy the track.
- Check roller stems. The stem is the thin shaft connecting the roller wheel to the hinge. Bent stems are a sign of track misalignment or a door that’s been forced open. Either way, the underlying problem needs addressing.
When replacing rollers on doors with bottom brackets that sit below the track (common on Clopay and Amarr models), always replace the bottom roller as a full assembly with the bracket. It’s a small upcharge that prevents the bracket from chewing through the new roller within months. Roller replacement on the lower brackets and bottom fixtures can involve tension-loaded components. If the door uses torsion springs, leave bottom roller work to a technician unless you have specific training with spring-loaded hardware.
Track Alignment: Why St. Petersburg Humidity Warps More Than Just Wood
Your garage door tracks are galvanized steel, which does resist rust. But the mounting brackets and fasteners that hold the tracks to the garage framing are often plain steel, and they corrode steadily in Pinellas County humidity. When a bracket shifts, the track shifts with it. The result is a door that binds, scrapes, or jumps off the track entirely.
What to check:
- Measure the gap between track and door. With the door halfway open, the gap between the door edge and the track should be consistent on both sides. A visible difference means one track has shifted.
- Look for wall separation. Tracks should sit flush against the wall brackets. Rust stains running down from bracket screws are a telltale sign of corrosion working its way into the wood or concrete.
- Check the curve radius. The curved section of track (where the door transitions from vertical to horizontal) takes the most stress. Look for flattened spots or a curve that’s twisted slightly out of plane.
- Test the bolts. Don’t tighten anything without checking alignment first. But do grab each bracket and give it a firm shake. Movement means the fastener has loosened or the surrounding material has deteriorated.
Track misalignment is almost never an isolated problem. It’s usually caused by something else: a failing spring, a broken cable, a bent roller stem, or a door that someone reversed into. Fixing the track without addressing the root cause means you’ll be looking at the same crooked door next quarter. This is where our St. Petersburg Garage Door Repair home approach differs from a handyman patch: we diagnose the mechanism before we touch the track.
The Right Way to Lubricate in Florida Heat
Most garage door lubrication advice works fine in Ohio. In St. Petersburg, the rules change. Florida’s heat turns petroleum-based lubricants into a sticky attractant for sand, salt, and dust. Spray WD-40 on your rollers, and in six weeks you’ll have a grinding paste wearing the metal surfaces down.
Here’s what we use and recommend, component by component:
- Springs: White lithium grease or a dedicated garage door spring lubricant. Apply a light coat to the spring coils. In St. Petersburg, this is the single most important lubrication point because it displaces salt-laden condensation.
- Rollers (metal ball-bearing type): Silicone spray only. Do not use grease, which migrates off the bearings and onto the track. Do not lubricate plastic rollers at all; they’re self-lubricating by design and any spray accelerates deterioration.
- Hinges: Silicone spray or white lithium grease on the pivot points. Apply sparingly and wipe excess.
- Opener rail (screw and chain drives): Follow the brand-specific recommendation. Genie screw-drive openers use a specific viscous lubricant, while Chamberlain chain-drive rails typically need nothing more than a clean rail. Using the wrong product on a screw drive causes binding, premature gear wear, and noisy operation.
- Weatherseal (the rubber strip at the bottom of the door): Nothing. Do not apply any spray or sealant. Products like Armor All and petroleum-based rubber conditioners accelerate UV cracking in Florida’s sun. A dry seal is a healthy seal. Replace it when it cracks.
The frequency matters too. Quarterly for springs and hinges is right for most homes. If you live within a mile of the water (Gulfport, Pasadena, Broadwater), step it up to every two months. The salt difference is measurable in how quickly unlubricated springs develop pitting.
Opener Maintenance: Auto-Reverse, Photo-Eyes, and Battery Backup
Garage door openers are the most common repair category we handle citywide, fully covered under our Garage Door Opener Repair in St. Petersburg service. The good news is that most opener failures happen after weeks of subtle performance changes: slower operation, louder motor noise, intermittent reversal. None of us notice day to day. A monthly test catches what your habit ignores.
Here’s the opener checklist we recommend for every brand, including Chamberlain, Genie, and LiftMaster units:
- Test auto-reverse force (monthly): Place a 2×4 flat on the floor under the door’s path. Close the door. It should reverse within two seconds of contacting the wood. If it doesn’t, the force setting is too high, and the opener is unsafe, especially for children and pets.
- Test photo-eye alignment (monthly): With the door open, wave an object through the invisible beam between the two photo-eyes mounted near the floor on either side of the door, then press close. The door should immediately reverse and return to open. If it doesn’t, check alignment and wipe the lenses with a dry cloth.
- Check the battery backup (quarterly): If your opener has a battery backup (standard on newer LiftMaster and Chamberlain units in Florida due to hurricane code requirements), unplug the opener and operate the door. It should open and close once, maybe twice, at full speed. If it won’t hold a charge, the battery needs replacement, typically every 3-5 years in Florida’s heat.
- Inspect the emergency release handle: The red cord hanging from the opener rail should be intact, easily reachable, and not frayed. Florida hurricane preparation requires this cord to work perfectly every time.
- Look at the opener rail and chain/belt condition: Chain-drive openers need the chain to have about 1/4 inch of slack at its midpoint. Too tight and you strip the gear; too loose and the door starts with a loud jerk. Belt-drive openers should show no cracking or missing teeth on the belt.
Opener electrical work, wiring, and force-adjustment on torsion-spring doors should be left to a technician if you’re unfamiliar with the specific unit. But the safety tests above are designed for homeowners and take less than five minutes combined.
Weatherseal and Bottom Brackets: UV and Salt Damage in Pinellas County
Bottom weatherseal (the rubber or vinyl strip running along the bottom of your garage door) has a brutal job in St. Petersburg. It sits in standing water during heavy rains, bakes in direct UV from noon through late afternoon, and gets dragged across a salty, sandy driveway every time the door cycles. That’s why most seals in our area crack and split within two to three years, well before their rated lifespan.
Here’s what to look for:
- Visible cracks along the seal length. Cracks let water, salt, and insects into the garage. In neighborhoods like Lakewood Estates and Coquina Key, standing water that gets past a failed seal promotes slab erosion and foundation issues long before you notice them.
- Hardening or brittleness. A healthy seal flexes. If you can’t bend it easily, UV has broken down the material and it’s time to replace.
- Bottom bracket corrosion. The bottom brackets hold the seal in place and anchor the lift cables. In coastal Pinellas County, these brackets are the first hardware component to show serious rust. Flaking, pitting, or brown staining means replacement should happen sooner, not later. A bottom bracket that gives out mid-cycle takes the cable with it.
- Light gaps. With the door closed and the interior lights off, look for daylight coming under the door. Any visible gap means the seal has compressed or cracked in that spot and water intrusion is active.
Replacing weatherseal is one of the few maintenance items that’s genuinely DIY-friendly: the new seal slides into the aluminum or steel retainer channel on the bottom of the door. But if the bottom bracket itself is corroded, you’re better off having the whole assembly replaced, which we handle routinely as part of Garage Door Installation in St. Petersburg service calls.
Common Mistakes to Avoid
- Using WD-40 on anything. WD-40 is a solvent and water displacer, not a lubricant. On rollers, it strips the existing lubrication and leaves metal surfaces dry within weeks. On rubber weatherseal, it accelerates UV cracking and deterioration, especially in Florida heat.
- Ignoring a squeaky door. Squeaks aren’t a personality trait. They’re the sound of metal-on-metal contact where there should be lubrication. By the time a squeak becomes a grind, you’ve generally gone from a $30 lubrication service to a multi-hundred-dollar hardware replacement.
- Tightening track bolts without checking alignment. If you tighten a track that’s already out of alignment, you lock in the misalignment. The door then wears unevenly and future adjustment becomes harder, not easier.
- Skipping spring inspection because the door “works fine.” Springs don’t fail at random. They fail after a predictable deterioration pattern that includes visible corrosion, uneven coil spacing, and tension loss. A door that works fine today can have a spring that’s 80% of the way to failure.
- Lubricating the track. Tracks should be clean and dry, always. Grease or spray on the track collects sand and salt, which accelerates roller wear and causes the door to bind in the summer humidity.
- Replacing only the failed component on an old door. A 15-year-old door with a broken spring almost always has secondary damage: worn rollers, stretched cables, or a compromised bottom bracket. Replacing just the spring leaves those problems in place to cause the next failure. Our repair approach treats the door as a system, not a collection of isolated parts.
When to Call a Professional
Spring replacement, cable repair, bottom bracket replacement, and any work involving the opener’s electrical connections or force settings are not DIY jobs. The tension stored in torsion springs is lethal when released improperly, and cables under load can cause serious injury when they snap. If you see any of the Garage Door Warning Signs: A St. Petersburg Homeowner’s Reference Guide covered in this guide, from a frayed cable to a corroded spring to a door that won’t balance, that’s a service call. St. Petersburg Garage Door Repair offers free estimates in St. Petersburg; call (855) 473-1420 and we’ll diagnose the problem, quote the repair before any work starts, and get the door operating the same visit in most cases.
Frequently Asked Questions
Quarterly inspections are the right cadence for most homes in St. Petersburg, with two exceptions: homes within a mile of the bay or Gulf should increase to every two months due to accelerated salt corrosion, and door balances and opener safety tests should be done monthly regardless of location. A quarterly routine of spring, cable, roller, and weatherseal inspection takes about 20 minutes once you know what to look for, and our Garage Door Repair Troubleshooting: Common Problems and How to Fix Them can help you spot issues faster.
Broken torsion springs are the most common repair we perform across St. Petersburg, especially in the summer months when heat and humidity cycles cause metal fatigue. The second most common is opener failure, particularly gear wear on chain-drive units older than 8 years. Both are preventable with regular inspection and lubrication.
No. Torsion springs are under extreme tension even when the door is closed, and the force released during adjustment or removal is enough to cause fatal injury. Extension springs have similar risks when safety cables are missing. Spring replacement requires specialized winding bars, calibration knowledge, and safety training. This is always a professional service call, never a home project.
That bang is usually a sticking bottom seal or a corroded roller binding against the track after rain and humidity. In St. Petersburg’s wet season, condensation forms on the track overnight and mixes with accumulated dust and salt, creating temporary adhesion. A light silicone lubricant on rollers and clean, dry tracks usually eliminate the problem. If the bang is a single sharp sound from above the door, have the springs checked immediately, as it can indicate a coil binding.
Expect about 8 to 12 years from a quality opener in Pinellas County, with two local factors shortening that lifespan: salt air accelerating electrical corrosion on the logic board, and heat accelerating gear wear on chain-drive units. Wall-mounted openers without a ceiling rail typically outlast ceiling-mount units in our climate. If your opener is past year 10 and showing signs like slow operation, reversed logic, or grinding gears, call (855) 473-1420 for a diagnostic assessment.
Usually not, unless the door section itself is in exceptional condition. A 20-year-old door in St. Petersburg has typically accumulated multiple problems: stretched springs, worn rollers, corroded bottom brackets, rusted hinges, and failing weatherseal. Repairing one component often reveals another issue within months. In our experience, homeowners who replace an older door with a modern insulated model see energy savings in the garage, quieter operation, and elimination of recurring repair costs. We can walk you through the repair-versus-replace math honestly, without pushing a sale.
The Bottom Line
The maintenance that prevents most emergency garage door repairs in St. Petersburg takes about 20 minutes each quarter and costs almost nothing: inspect springs, cables, and rollers for corrosion; lubricate the right components with the right products; test your opener’s safety functions monthly; and replace cracked weatherseal before summer. The repairs that catch homeowners off guard, especially broken springs and frayed cables, all show warning signs weeks or months before failure. Learn those signs, check for them regularly, and you’ll sidestep most emergency calls. When something does fail, call (855) 473-1420 for a free estimate, and for more on our repair services, start at our St. Petersburg Garage Door Repair home page.
Written by the team at St. Petersburg Garage Door Repair, serving St. Petersburg since 2011. Explore more guides & resources on our blog.
See the difference
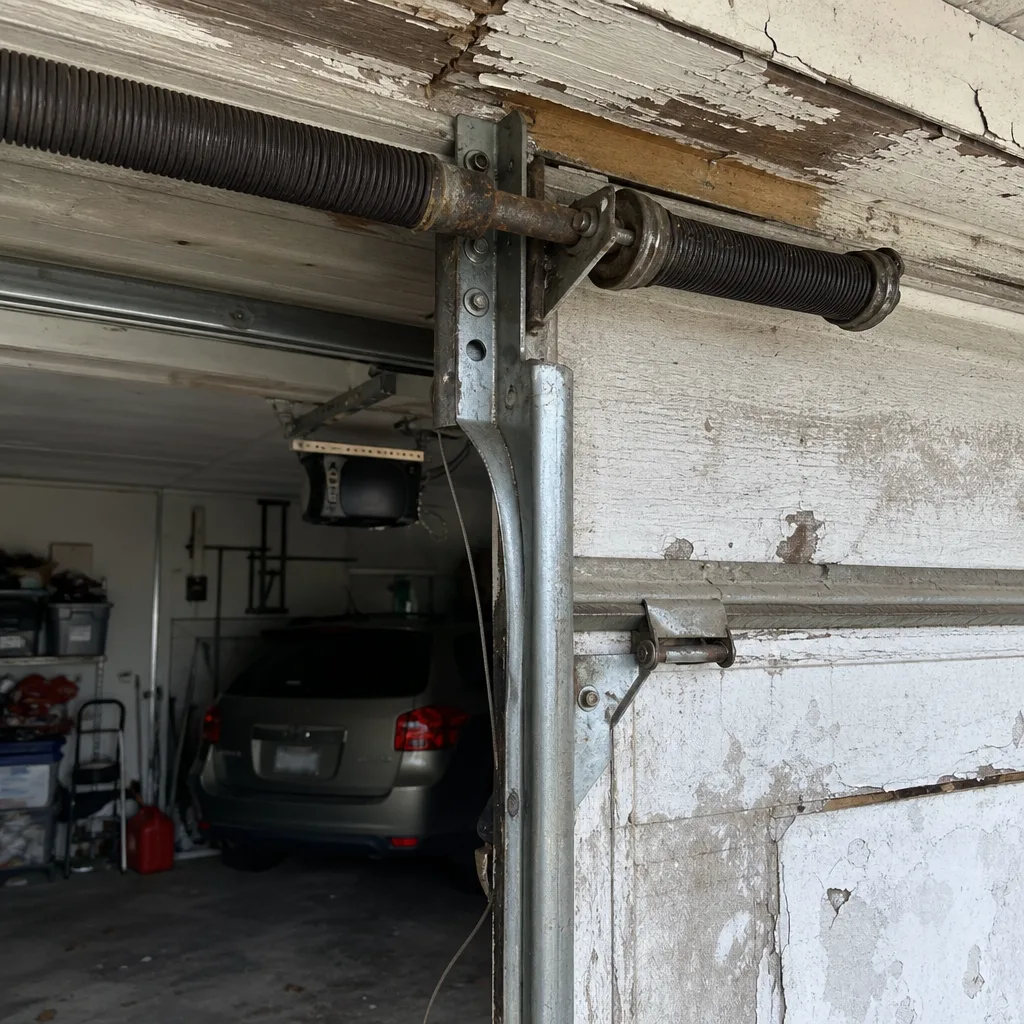 Before
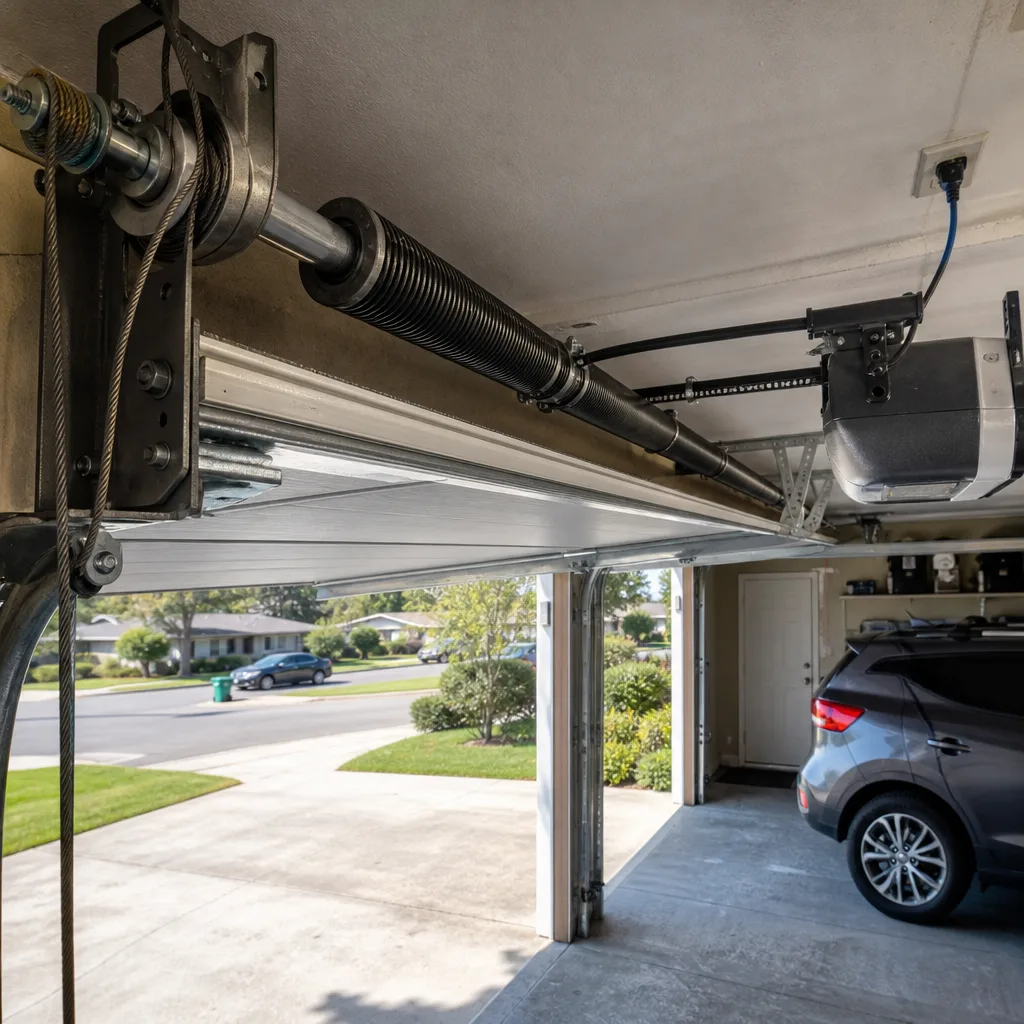 After
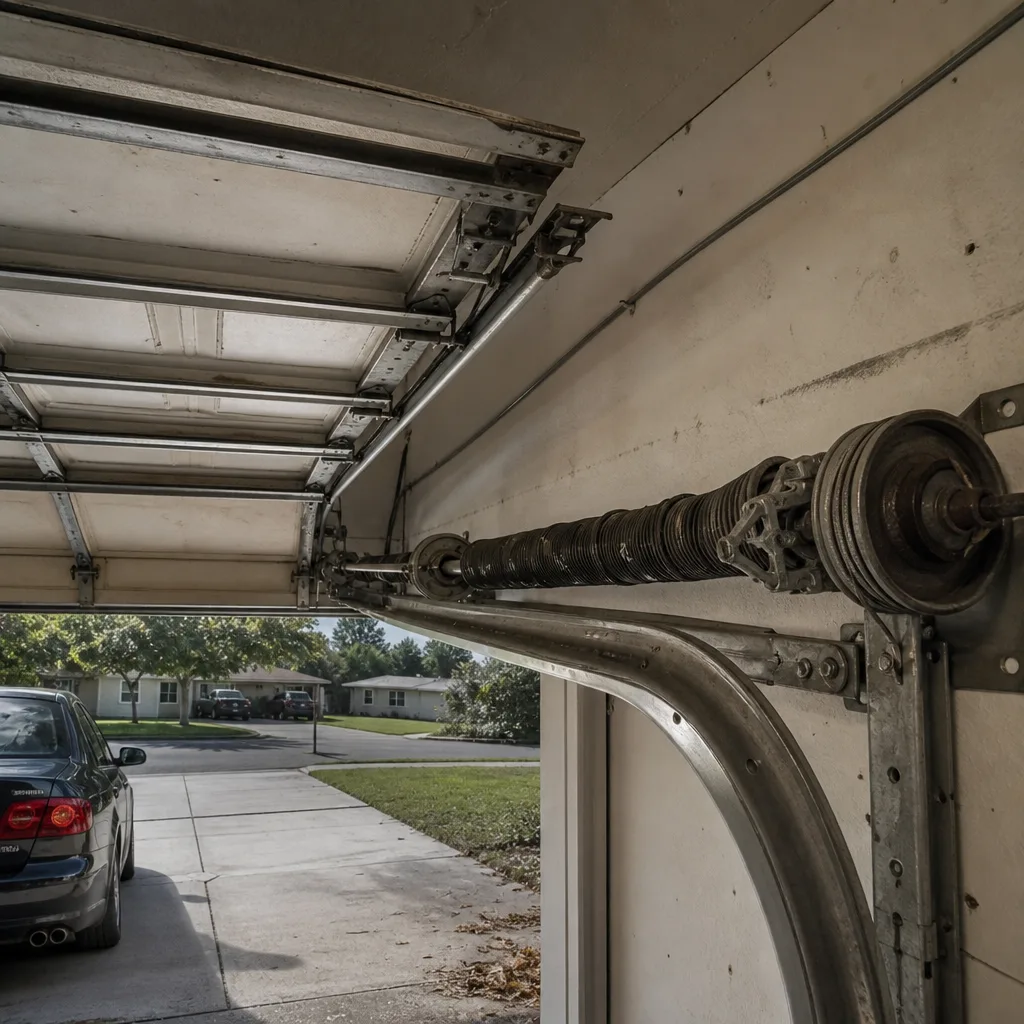 Before
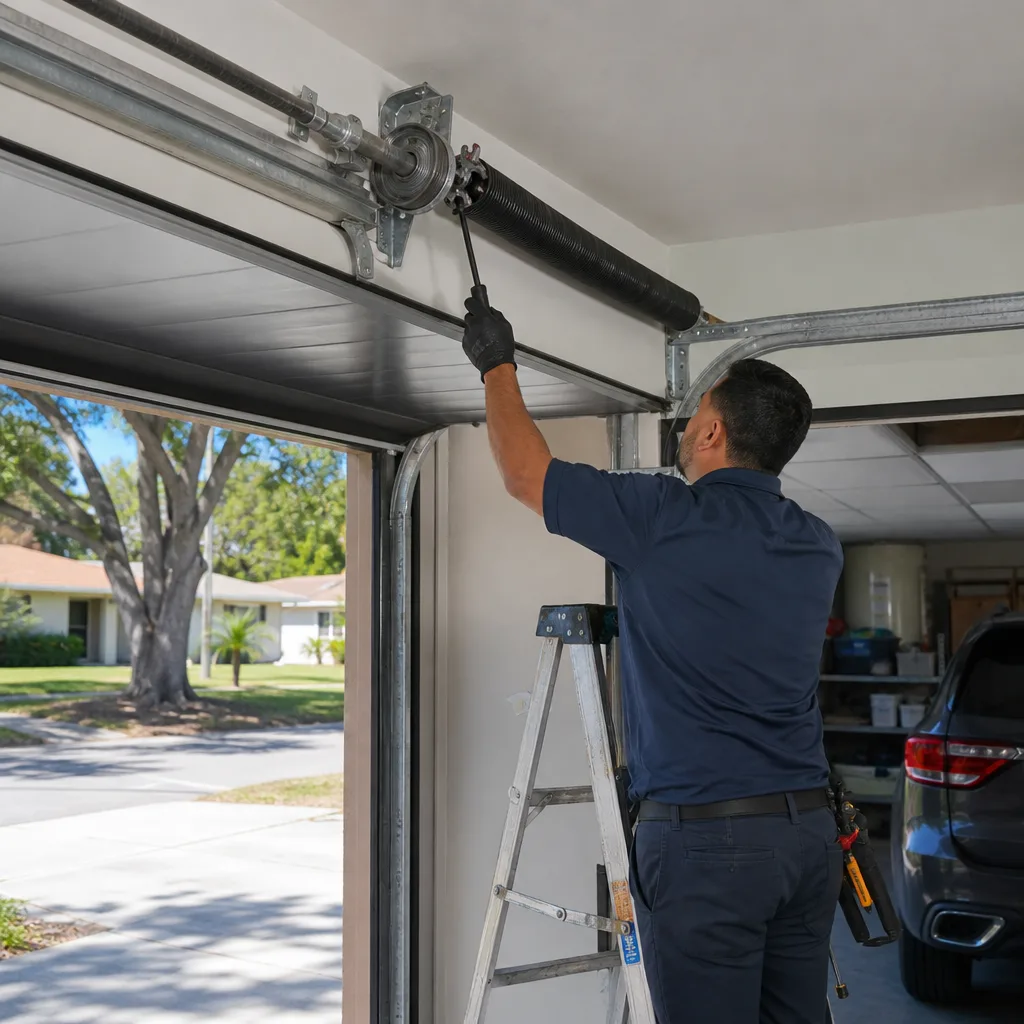 After
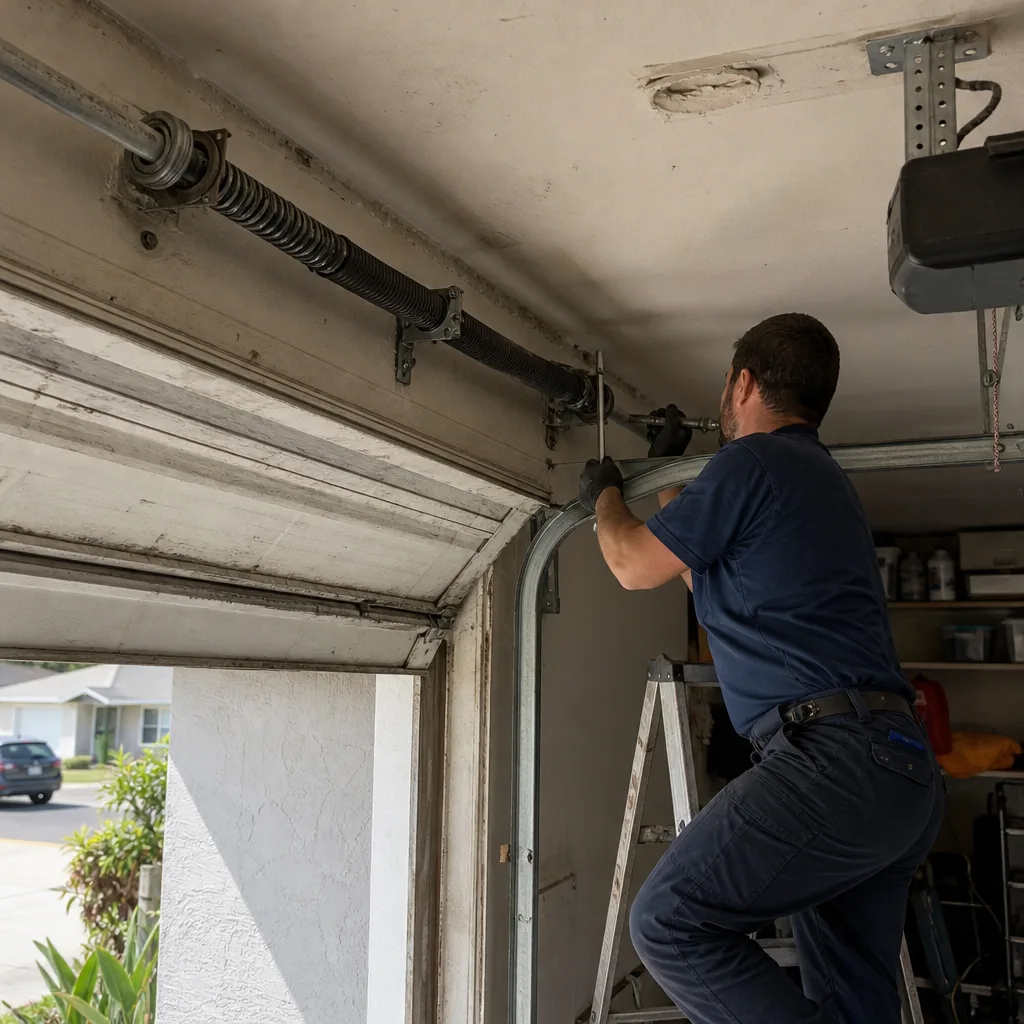 Before
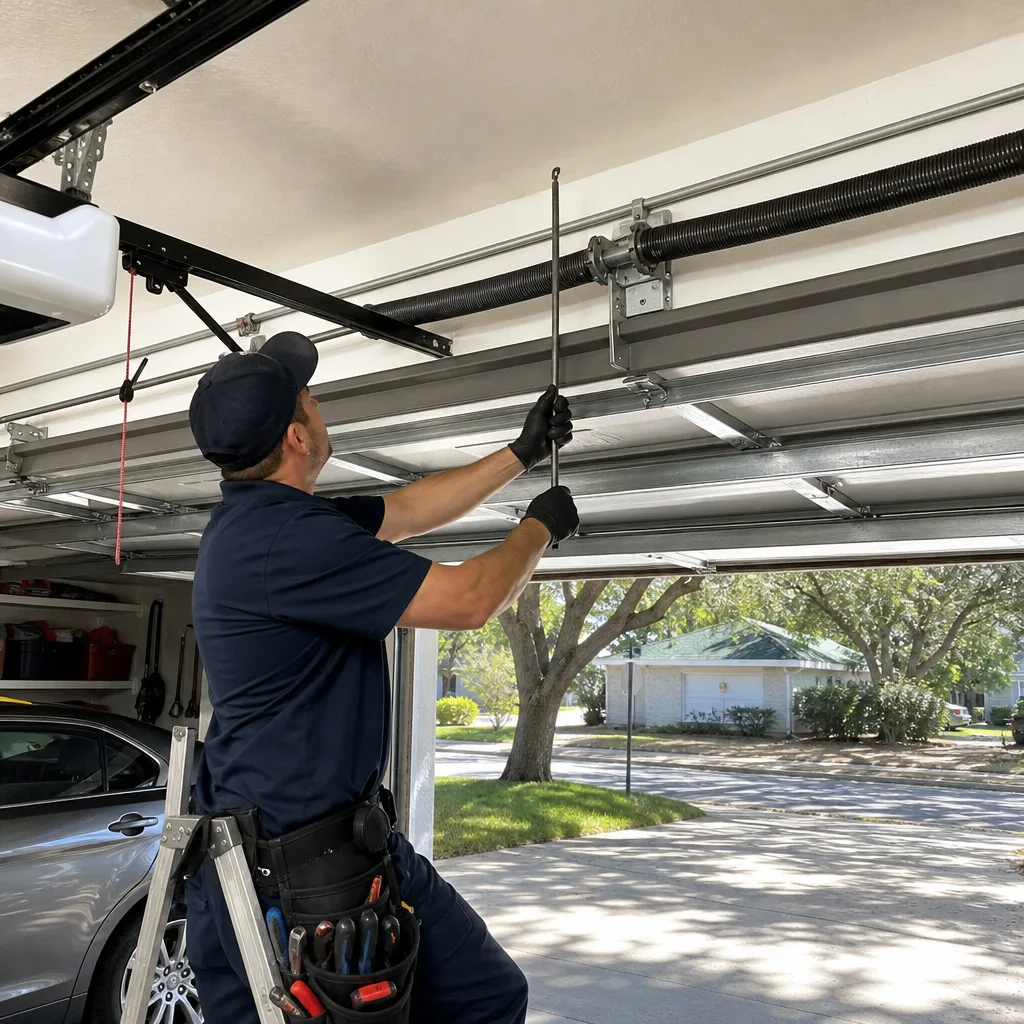 After